
To install the PrintWayy Client module, download the installer and its prerequisites from download page and check that the requirements below are met:
- The computer/server where the installation will be performed must have an internet connection and must access the printers to be monitored via the network. If monitoring is by USB connection, the printer must be connected to the station;
- .Net Framework 4.5.1 installed for Windows 7 or above and 4.0 for Windows XP and Windows Server 2003 (PrintWayy Client's installer will verify this itself, before starting the installation process). If not installed, download it from the download page and run the installation;
- Run the PrintWayy Client installer with Administrator user or in the Administrators Group of the system;
- If the network in the environment where you are installing has a proxy configured, have the proxy server and authentication user details to report during installation.
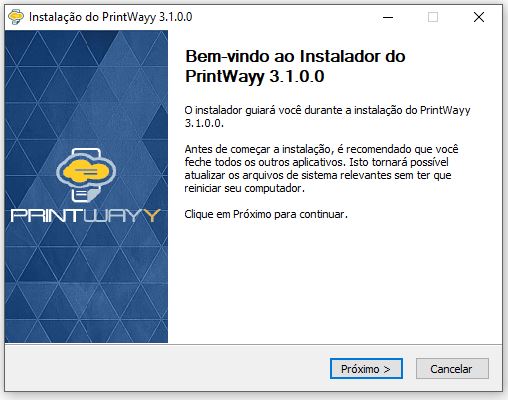
Step 1: For the installation process, run the PrintWayy installer. The screen below will be displayed:
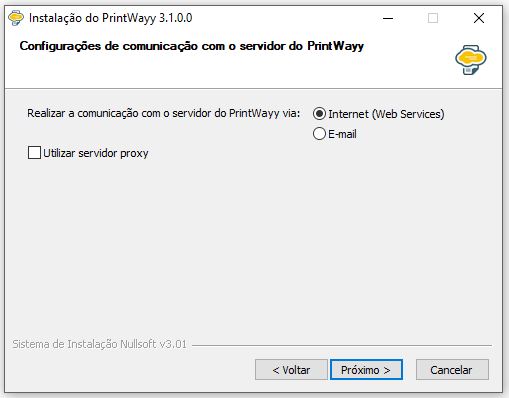
Configuring Proxy and choosing the type of Communication
By clicking Next, the screen for choosing the communication method between the PrintWayy Client and our server will be displayed. The default communication is via Web Services, but for environments where there are restrictions on this form of communication, it is possible to exchange data via email.
For communication via Web Services, you can enter the proxy data, if the environment where the installation is being carried out has this type of configuration. Mark the option Use proxy server and fill in the fields that will be displayed.
Tip: if the chosen communication is via e-mail, it is important to have a specific account for this purpose, as it will generate a considerable amount of e-mails.
Attention! If the e-mail option is chosen as the form of data exchange, the validation process of the installation key may take from 3 to 5 minutes to complete.
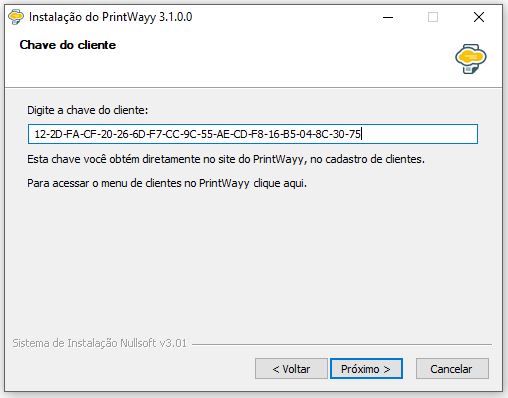
Entering the customer key
At this point it will be necessary to use the key generated after finalising the Customer's registration.
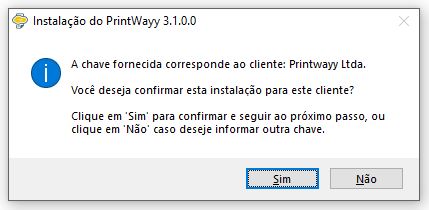
Attention! After clicking "Next" should appear the name of the registered customer, check that it is correct and if all is right, simply confirm the installation.
Finishing the installation and accessing PrintWayy Client
After confirming the path from where PrintWayy Client should be installed and waiting for it to finish the process, simply complete the installation and log in.
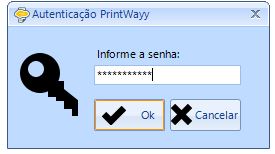
The authentication screen will appear and the default password for the tool is: monitoring
After completing the installation it is important that you check that all processes are working correctly. Even after a successful installation, there are still issues that may affect the normal operation of PrintWayy Client. Go to the Frequently asked questions page and see how to validate or resolve PrintWayy installation issues.