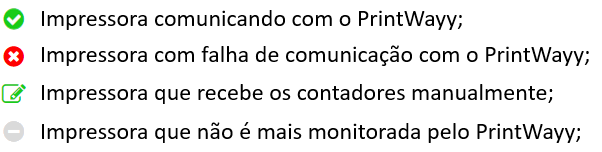
The Printers item displays a list of all printers that are being monitored. For each printer, among other information, the model, location and current status are displayed, as per the icons below:
Printers that are no longer monitored by PrintWayy can be hidden from view by checking the Hide printers that are no longer monitored option at the top of the screen.

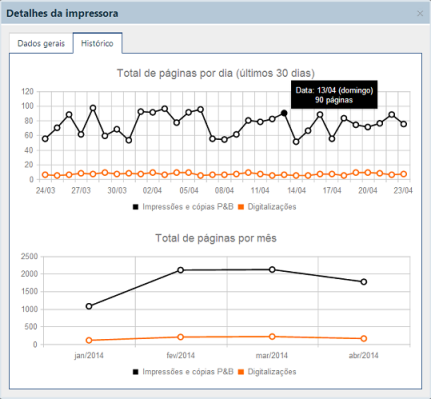
When you double-click on a printer or select a printer and click View Details, a window appears, as shown below, that shows general data about the printer and its usage history in graphical form.

As with the Dashboardgraph, placing the cursor over one of the graph's points displays the number of printed pages.
Besides allowing the monitoring of usage, in the item Printers it is possible to create Alerts.
Meter Registration
Manual counter registration should be used to enter counters for printers that are allocated to clients but are not yet automatically monitored by PrintWayy.
It is possible to perform manual counters only for manually registered printers. The counters entered in this registration will be counted in the same way as the counters captured automatically, so maximum attention is required when performing the registration, to avoid inconsistency in numbers and, consequently, failure in reports and charts.
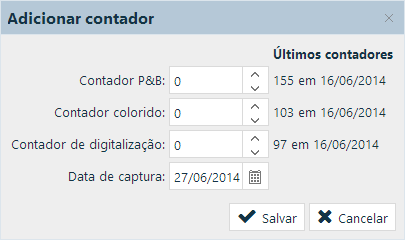
To register counters, in the counters screen select a printer and click Add Counter, or open the printer details and click Add Counter. The screen below will appear:
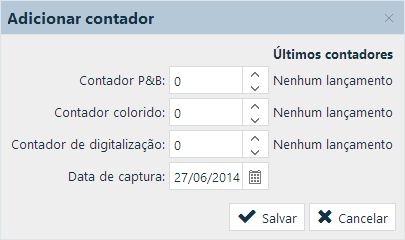
You can make the manual posting for 3 types of counters:
- Black and white;
- Color;
- Scanning;
To register you must enter a value for at least one of the types. It is also important to pay attention to the side of each value entry field, where information about the last counters registered for the printer are displayed.
In the above example, counters had not yet been posted for the printer. In the example below, the printer received counters on 6/16, and the posted values are displayed. Therefore, when making a new entry, the values must be greater than the last entry and must be at a later date.
The date entered must be the date of data capture, not the date on which the data is being recorded.
For example: if the printer was installed on the 10th, and the initial counters were captured that day but only registered on the 11th, you must indicate the 10th at the time of registration, because this was the day the counters were queried on the printer.
After entering the data, click Save. At this point the system will evaluate the data, and if there is a very large variation in the counters or if the capture date of the counters is greater than a billing period, a message will be displayed.

This message is to notify you that the data provided is out of the average and prompts you to confirm whether or not it is correct. If everything is correct, click Confirm and the information will be saved in PrintWayy and will enter the accounting routines. If not, click Cancel and correct the data.
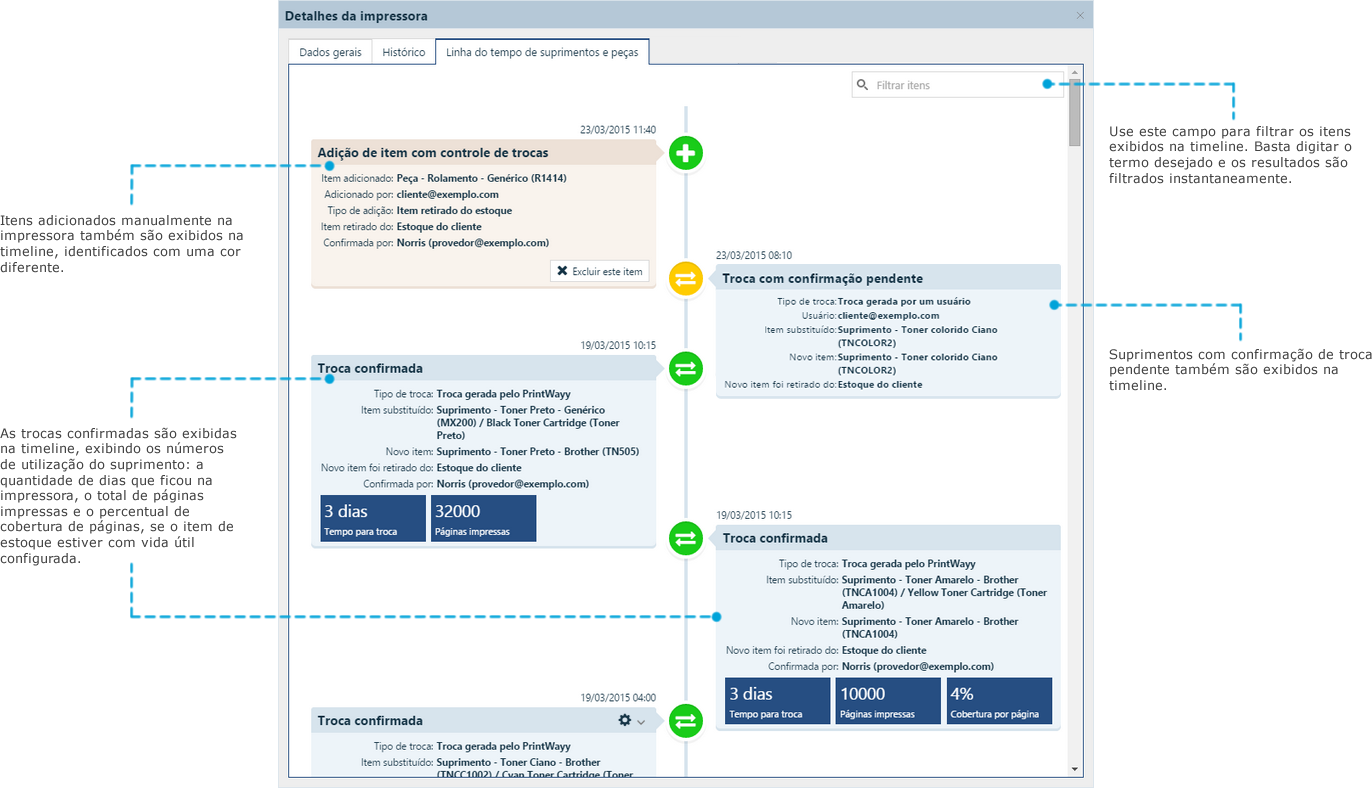
Timeline of supplies and parts
The printer's supplies and parts timeline allows you to view all of the changes and additions of items that have been made to the printer over time. It is a history of activity related to supplies. See below for more details: