
General Data
In the general data you can set up information about your company such as: logo, departments, information, working hours, and modules enabled by default.
Logo
In this configuration you must register the image of your company's logo. This image will appear in the header of PrintWayy reports, and can also be used in the header of the system itself. The file must be at least 225 pixels wide or 90 pixels high, and only images with extension .jpg, .png or .gif can be registered.
![]()
The option "Display my logo in the system header" when checked causes the PrintWayy logo in the header of all site pages to be replaced by your company logo.
General Information
Here you can enter your company's data. This data can appear in the report header if you select the "Show in reports" option.
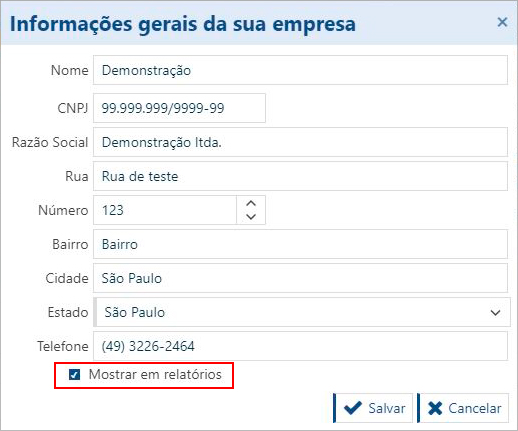
When this option is selected, all PrintWayy reports will come in the header with your information.
This professionalizes data delivery to your customers and makes it easier to audit information in your company. The header will look like this:

Departments in your company
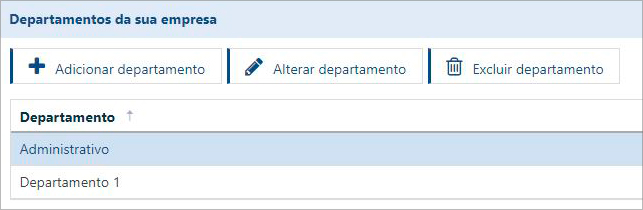
Your company's departments can be used in your printer park settings, in the case of printers that have been picked up from a customer and returned to your company's inventory. In this way, you can pinpoint in which department of your company the printer was placed. To add a department, click on Add Department and the screen appears to enter the name of the new department.
Your company's working hours
These settings will be used to determine the provider's working hours.

It is important to check how to set this up in PrintWayy, since each set of hours is treated as a "period".
PrintWayy modules enabled by default on new customers
Select in this setting the PrintWayy modules that should be enabled by default when registering a new customer in the system.
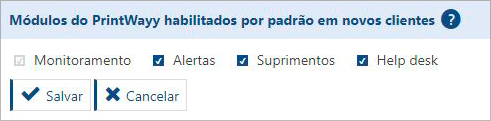
This setting is only to facilitate the registration of new clients. If you need to enable modules in a client other than those selected here, you can do this directly in the client's settings.
Contract Settings
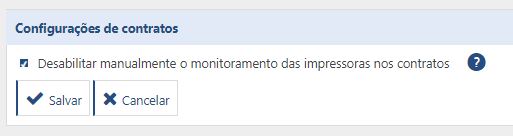
Check this option so that printers disabled or deleted through PrintWayy Client, will not be disabled or removed from the contract automatically, but only manually through the portal. The printers will be presented with a communication failure status until a manual action is performed.
Report Settings
Changing the title of the closing report for export and printing
You can change the title of the closing report in the settings menu, sub-menu your company information, in the report settings tab.
The title change will impact all exports and printouts of the closing reports.
Name the report in the way that works best for your operation: invoice, receipt, billing... Use your creativity!
Closing and printing and copying report columns
You can define which columns are to be displayed in the closing report and in the printouts and copies per printer report. In the general settings for your company there are two boxes that allow you to select which columns will be displayed in these reports.
They are different reports, with different information, so they have columns and information that differ from one report to the other.
Closing Report
After marking/unmarking the desired columns, click Save at the bottom of the page.
Print and copy report
After marking/unmarking the desired columns, click Save at the bottom of the page.
Additional text in the closing report
In this field you can register a text to be displayed in the closing reports. The text will be placed after the shared cost captions and before the main footer of the report.
To return to the Settings menu click here.